Reviving Metallic Surfaces: Unleashing the Power of Metal Putty Filler
In the world of metalworking and restoration, one material stands out for its unparalleled ability to revive and rejuvenate metallic surfaces: metal putty filler. This versatile compound has become a go-to solution for countless professionals and DIY enthusiasts alike, offering a unique set of properties that can transform worn-out or damaged metal surfaces into like-new conditions. Whether you’re working with rusted car panels, weathered sculptures, or even corroded pipes, metal putty filler has the power to restore their original beauty and strength.
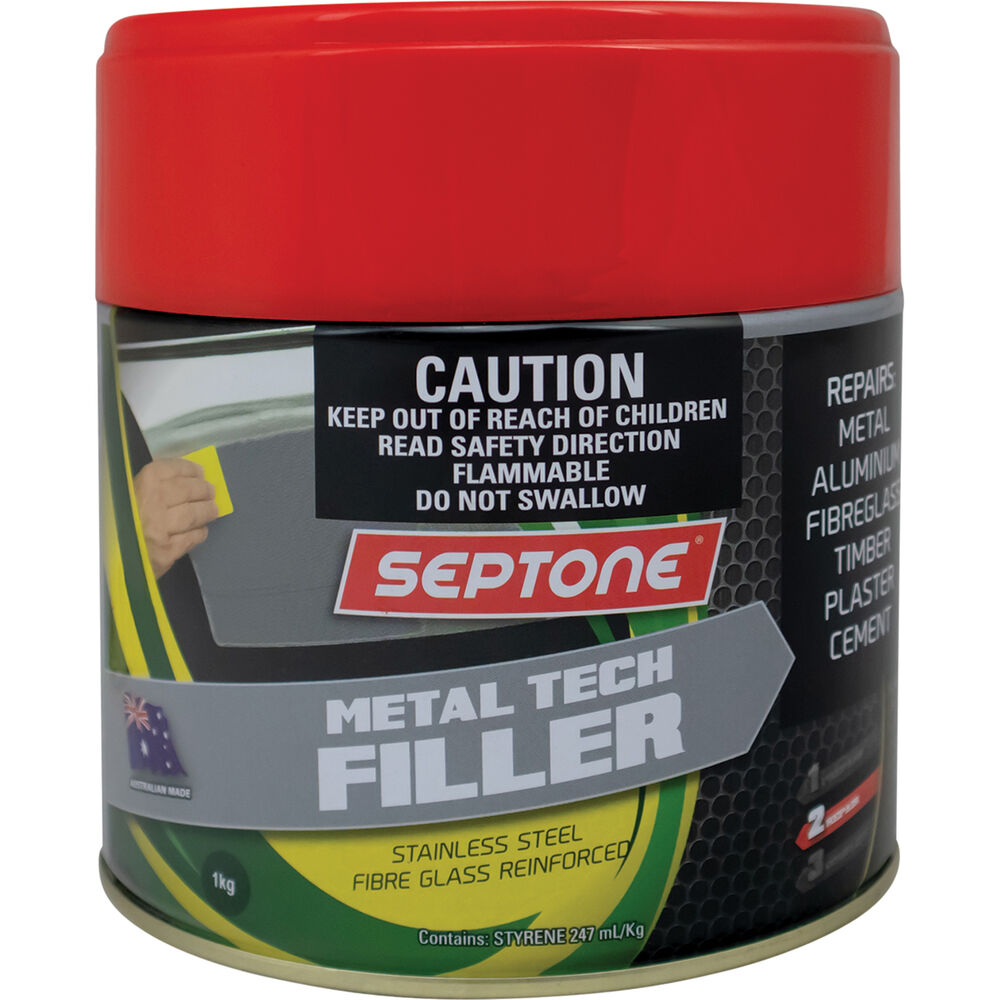
What sets metal putty filler apart is its remarkable adhesive strength and durability. Composed of a blend of metal particles and a binding resin, this powerful compound creates a strong bond with the metal substrate, effectively filling in any gaps or imperfections. Its malleability allows for easy application and shaping, making it suitable for intricate repairs on various types of metals, including steel, aluminum, and brass.
Additionally, metal putty filler provides exceptional resistance to water, chemicals, and extreme temperatures, ensuring that the restored surface remains intact and protected for longer periods. Whether you’re dealing with outdoor sculptures exposed to harsh weather conditions or industrial machinery operating in extreme environments, this remarkable material offers reliable protection against corrosion and deterioration.
In the following sections, we will explore the versatility of metal putty filler, exploring its applications in the automotive, art restoration, and plumbing industries. We will delve into the step-by-step process of using metal putty filler effectively, sharing tips and tricks to achieve seamless results. Join us as we unlock the full potential of metal putty filler and discover how it can breathe new life into tired and damaged metallic surfaces.
Benefits of Using Metal Putty Filler
Metal putty filler offers a multitude of benefits when it comes to reviving metallic surfaces.
Firstly, this versatile product provides excellent adhesion to various metals, making it suitable for a wide range of applications. Whether you need to repair dented car panels, fix damaged household appliances, or restore worn-out metal furniture, metal putty filler is your go-to solution. Its strong bonding properties ensure a reliable and long-lasting repair that can withstand the test of time.
Additionally, metal putty filler is highly resistant to temperature changes and corrosion, further enhancing its durability. This means that once applied, the filler will remain intact even when exposed to extreme weather conditions or harsh chemicals. Its ability to withstand these elements not only prolongs the lifespan of the repaired surface but also provides added protection against future damage.
Furthermore, metal putty filler is easy to shape and mold, allowing for seamless integration with the surrounding surface. Its pliable nature allows both professionals and DIY enthusiasts to achieve smooth and even repairs effortlessly. The filler can be sanded, painted, or polished to match the original metal finish, ensuring a visually appealing outcome.
In conclusion, the benefits of using metal putty filler cannot be overstated. Its strong adhesion, resilience to corrosion and temperature changes, and ease of use make it the ideal choice for anyone looking to revive metallic surfaces effectively.
Application Techniques for Metal Putty
Metal putty is a versatile and effective solution for reviving metallic surfaces. With its unique properties and impressive performance, metal putty filler has become a go-to choice for many craftsmen and DIY enthusiasts. In this section, we will explore some application techniques that can help you make the most of this powerful tool.
Preparation: Before applying metal putty filler, it is essential to properly prepare the surface. Start by cleaning the area thoroughly to remove any dirt, grease, or existing coatings. This will ensure better adhesion and a smooth finish. Additionally, it’s recommended to roughen the surface slightly using sandpaper or a wire brush to create a better bond.
-
Mixing: Metal putty filler usually comes in two parts – the base and the hardener. It’s crucial to mix these components thoroughly according to the manufacturer’s instructions. Use a clean and disposable container for mixing and ensure the ratios are precise. Avoid taking shortcuts or mixing larger quantities than necessary, as this can affect the quality of the final application.
-
Application: When applying metal putty filler, it’s important to work quickly and efficiently. Using a putty knife or a flexible spatula, spread the mixture evenly onto the prepared surface. Apply enough pressure to push the putty into any cracks, dents, or imperfections while maintaining a smooth and level finish. Take care to avoid excessive buildup or uneven application, as this may require additional sanding and refinishing.
Remember to refer to the manufacturer’s instructions for specific temperature and drying time recommendations. Proper application techniques, combined with patience and attention to detail, will ensure a professional-looking result when using metal putty filler.
By mastering these application techniques, you can unleash the true power of metal putty filler, transforming tired and damaged metallic surfaces into restored and revitalized masterpieces.
Tips for Achieving a Flawless Finish with Metal Putty Filler
-
Surface Preparation: Before applying metal putty filler, it is crucial to prepare the surface properly. Begin by cleaning the metal surface thoroughly, removing any dirt, grease, or rust. Use an appropriate solvent or degreaser to ensure a clean surface. Sanding the area lightly can also help to promote better adhesion of the metal putty filler.
-
Application Technique: When applying metal putty filler, it is important to use the right tools and techniques for a flawless finish. Begin by mixing the metal putty filler according to the manufacturer’s instructions. Apply the filler evenly onto the prepared surface, using a putty knife or spatula. Take care to fill any gaps or imperfections completely, ensuring a smooth and level surface.
-
Finishing Touches: Once the metal putty filler has dried, sand the filled area gently with fine-grit sandpaper. This will help to smooth out any bumps or rough edges, creating a seamless finish. After sanding, wipe away any dust or debris using a clean cloth. Lastly, you can apply a primer and paint or a suitable protective coating to restore the original appearance of the metal surface.
By following these tips, you can achieve a flawless finish with metal putty filler, effectively reviving metallic surfaces. Proper surface preparation, careful application techniques, and attention to finishing details are key to unleashing the power of metal putty filler.